Handmade Indigo + Turmeric Dyed Beeswax Wraps

If you’re like me and love a good craft project, especially one that saves waste and prevents the use of plastic, then you’ve come to the right place. I teamed up with my friends at Parks Project for a recent trip out to Joshua Tree and brought along some of these hand-dyed wraps as part of my essential desert road trip musts. A great way to keep your food fresh and lookin’ cute.
I recently realized that making beeswax food wraps was incredibly easy - in fact this just may be one of the simplest crafts to try out. All you need is some cotton fabric, beeswax pellets and an oven. That’s it. I use beeswax wraps a lot, in place of plastic wrap + plastic snack bags. I cover my left overs with it, citrus, sandwiches… the list goes on. I thought it would be fun to take it up a notch and make shibori indigo + turmeric hand-dyed wraps.
You can read more about dyeing with Indigo here and Turmeric here .

Preheat the oven to 200°F
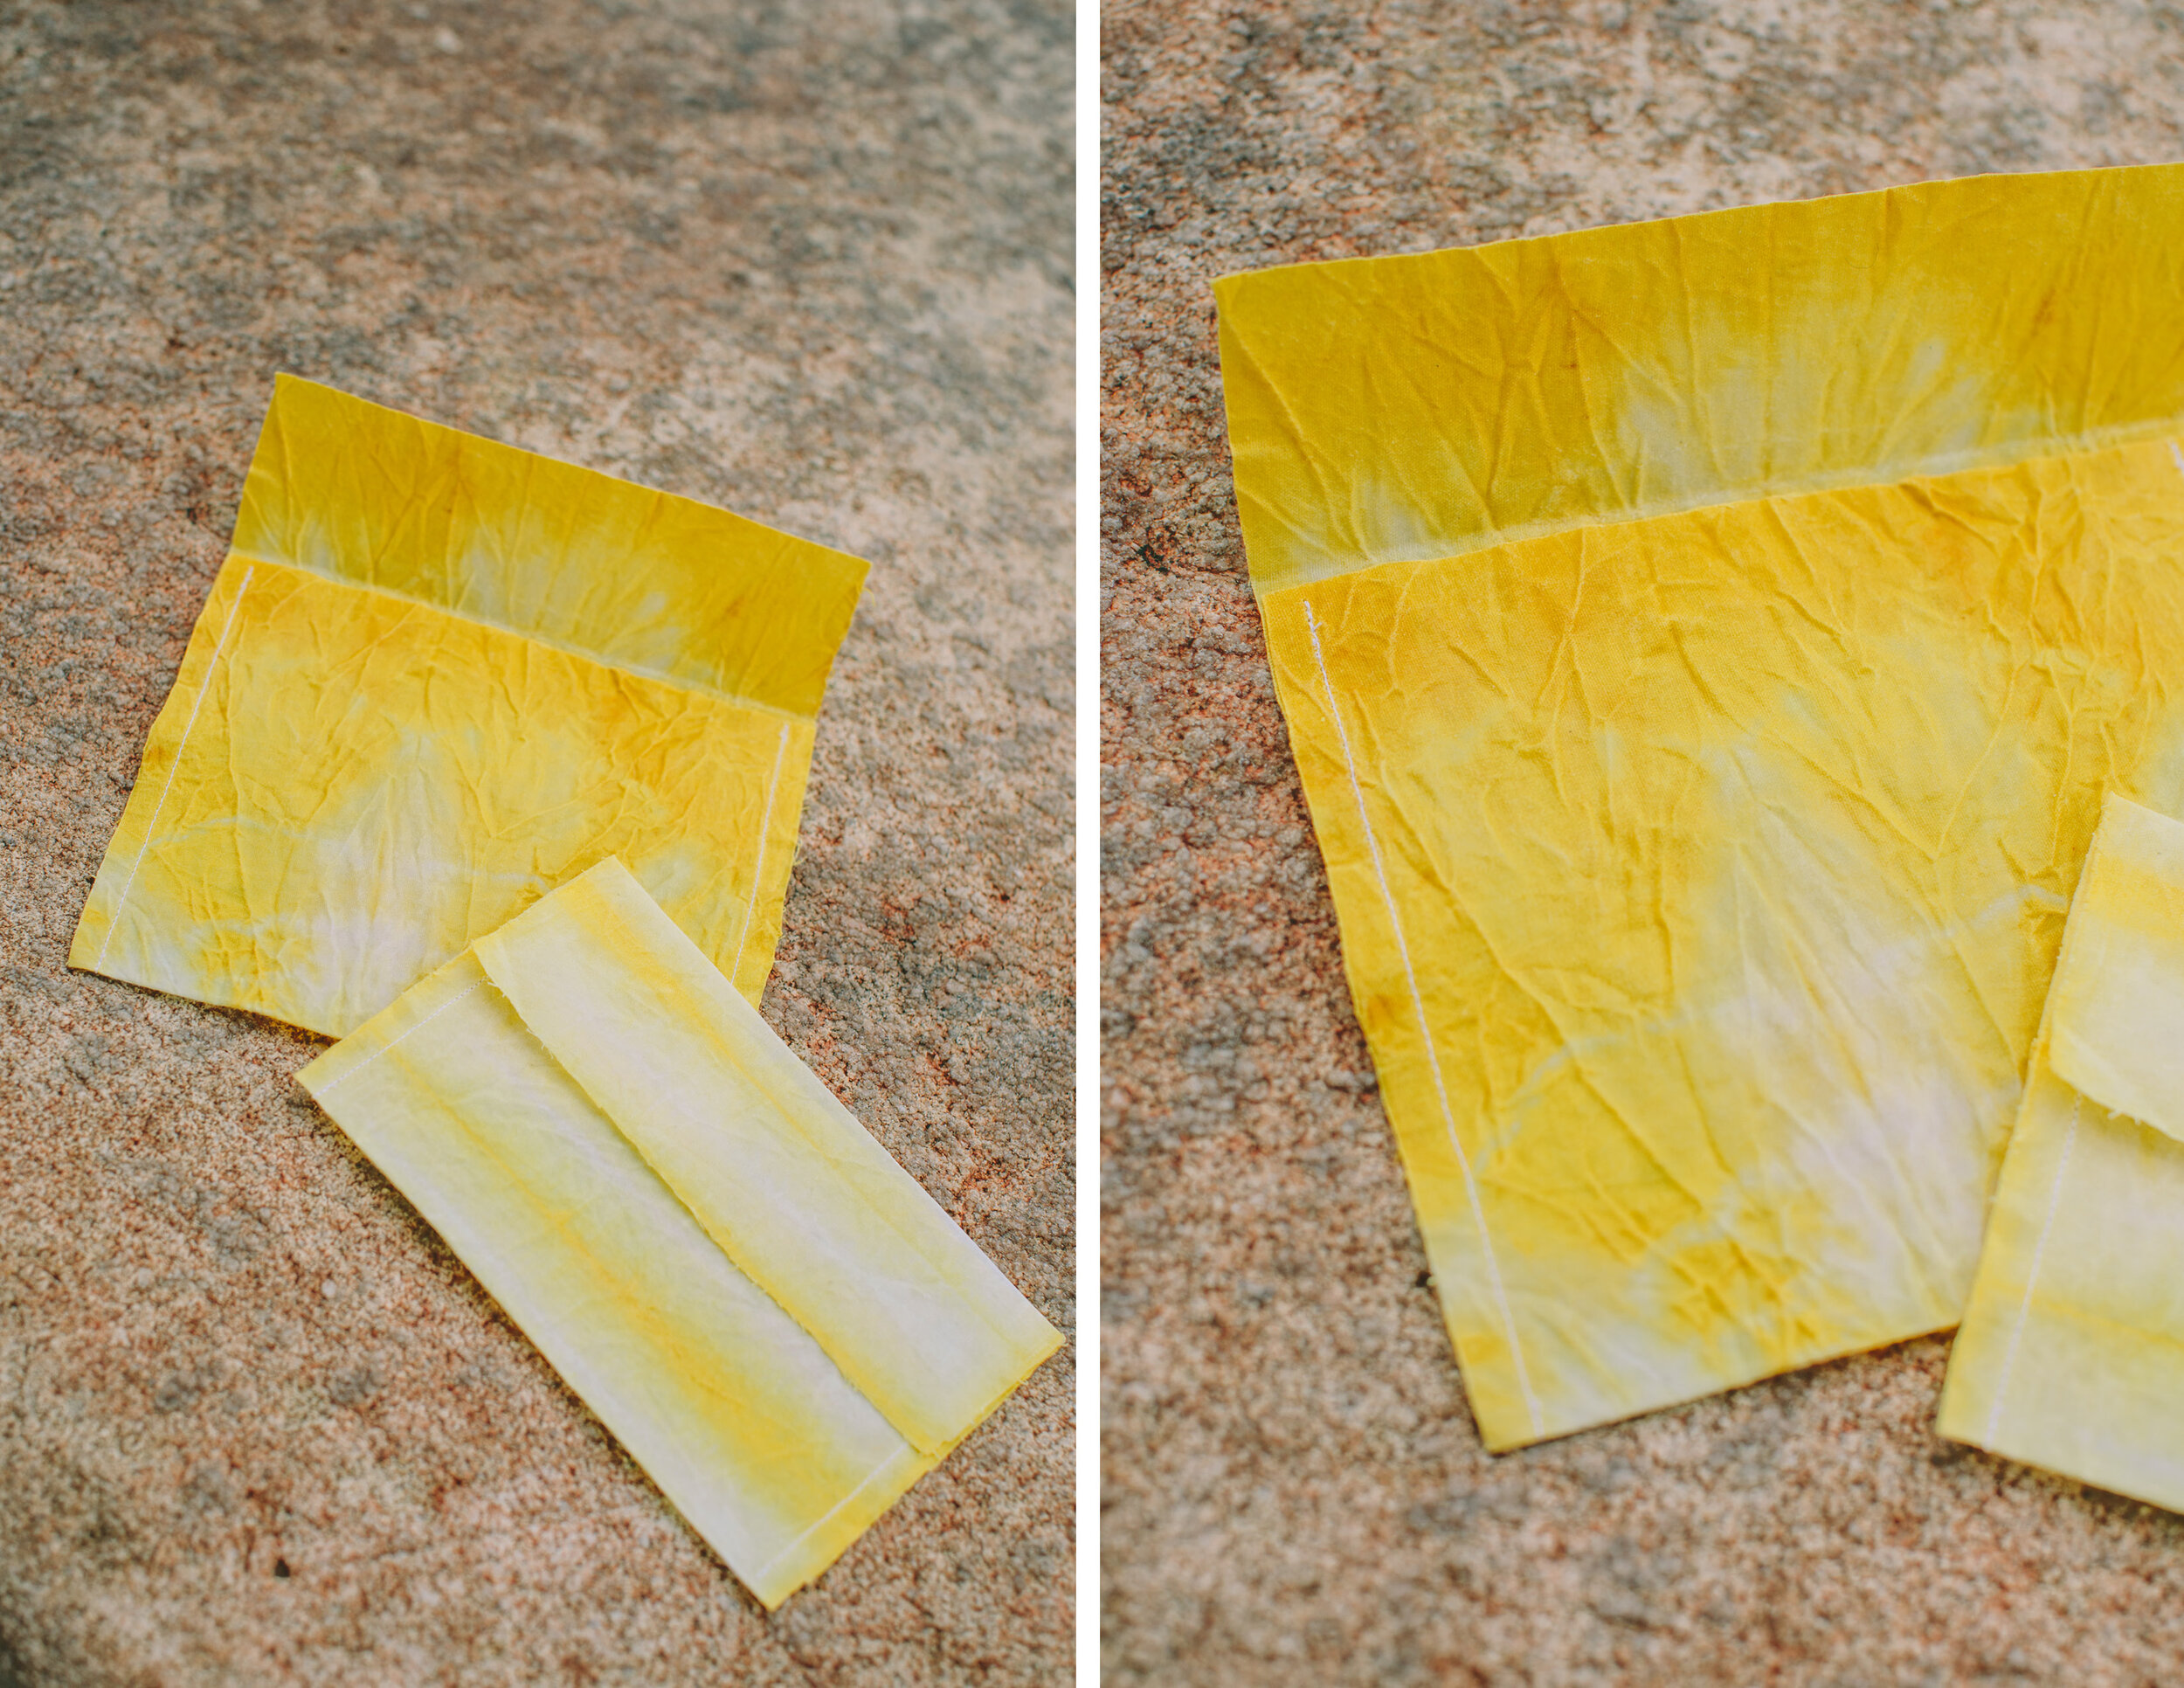
1. Cut the fabric.
Begin by cutting the fabric into your preferred sizes.
A 14" x 14" square will cover most sandwiches. A 10” x 6” rectangle for fruit + vegetables. A 22” x 16” for small loafs of bread and if you wanna get fancy 7” x 14” for snack bags. Get creative and make the most of the fabric. Note: If you have pinking shears on hand, they will help prevent your swatches from fraying, but scissors will also get the job done.

2. Prep the baking tray.
Line a baking sheet with parchment paper and place the fabric on top. If your fabric is too big for the tray, simply fold it and use extra beeswax pellets.

3. Sprinkle the pellets.
Evenly distribute a good amount of beeswax pellets all across the fabric. Making sure they reach the corners and edges. Make sure to break up larger clusters, as they take longer to melt. This is something you may need to get the swing of after your first attempt, but you can always add more and remelt the fabric.

4. Melt away!
Place the tray in the oven for about 8 minutes - but keep an eye on it. When the pellets melt completely, take the tray out and use a paintbrush to spread the wax evenly over the entire fabric, making sure to hit all of the edges. You want to make sure to do this step quickly as the beeswax cools and hardens instantly. Note: You can also use a spoon or fork for this step, as the beeswax will stick to the brush.

5. Let dry.
Carefully remove the fabric from the baking sheet. It should feel cool to the touch after waving it for a few seconds in the air. Clip the fabric to a hanger or along a string and let completely cool. This will only take a few minutes. The wraps are now ready to use!
Make sure to clean with cool water and let air dry. Wraps are good for 3-4 months, when I recommend washing with hot water and re-waxing! You can also throw it in the compost bin if you wish to dispose of it.
For Snack Bags :
Once dry, use any rectangular piece of fabric to sew into a snack bag. Fold the fabric up to make a pocket, leaving a flap that is 2-3ins long. Leaving a seam of at least 1/4 in, sew a straight line up to the opening of the pouch. You can add a button or velcro to the center of the flap, or simply leave it as is.