Shibori Indigo Dyeing for Beginners

I grew up tie - dyeing. As a child of the 80’s + 90’s I spent my weekends selling my tie-dyed goods at farmers markets and craft fairs - yep, I was THAT girl. So it is in no way shocking that one of my favorite things to do now as an adult is just that. As I have grown, I have experimented with many natural dyes and have found what I like and what I don’t. I am still a student of the craft and every time learn something new, so this guide is simply an intro to this world. As I write this I am in the midst of Shibori Indigo dyeing fabrics that are being used to make cloth face masks for the Covid 19 Pandemic, but when I first shot this blog I was using the fabrics for Handmade Indigo + Turmeric dyed Beeswax Wraps. Which is an amazingly simply way to store your foods and fresh produce. You can see how to make those here in our Handmade Beeswax Wraps Tutorial.
Now on to Dyeing —-
You are first going to need to first stock up on the materials. For first time indigo dyers I highly recommend getting an indigo dye kit by Jacquard Products . It will give you all the supplies you need and guide you step by step with how to prepare your vat. You can also purchase all the ingredients separately from different providers, but I recommend the Jacquard brand generally, especially for beginners.
The kits include :
You will also need:
5 gal/18.93 L plastic bucket with lid
Stirring stick long enough to reach the bottom of the container
without having to submerge your hands
•Water
• Natural fabrics or yarn
• a shallow pan to place your fabric in while oxidizing
• a piece of plastic for the floor covering the area where you will havethe indigo vat.

Setting up the indigo vat
Fill a 5 gal/18.93 L bucket with 4 gal/15.14 L warm tap water.
Add the Pre-reduced Indigo Dye into the water. Stir.
While stirring, slowly empty the Soda Ash and reducing agent
(Sodium Hydrosulfite) into the water.
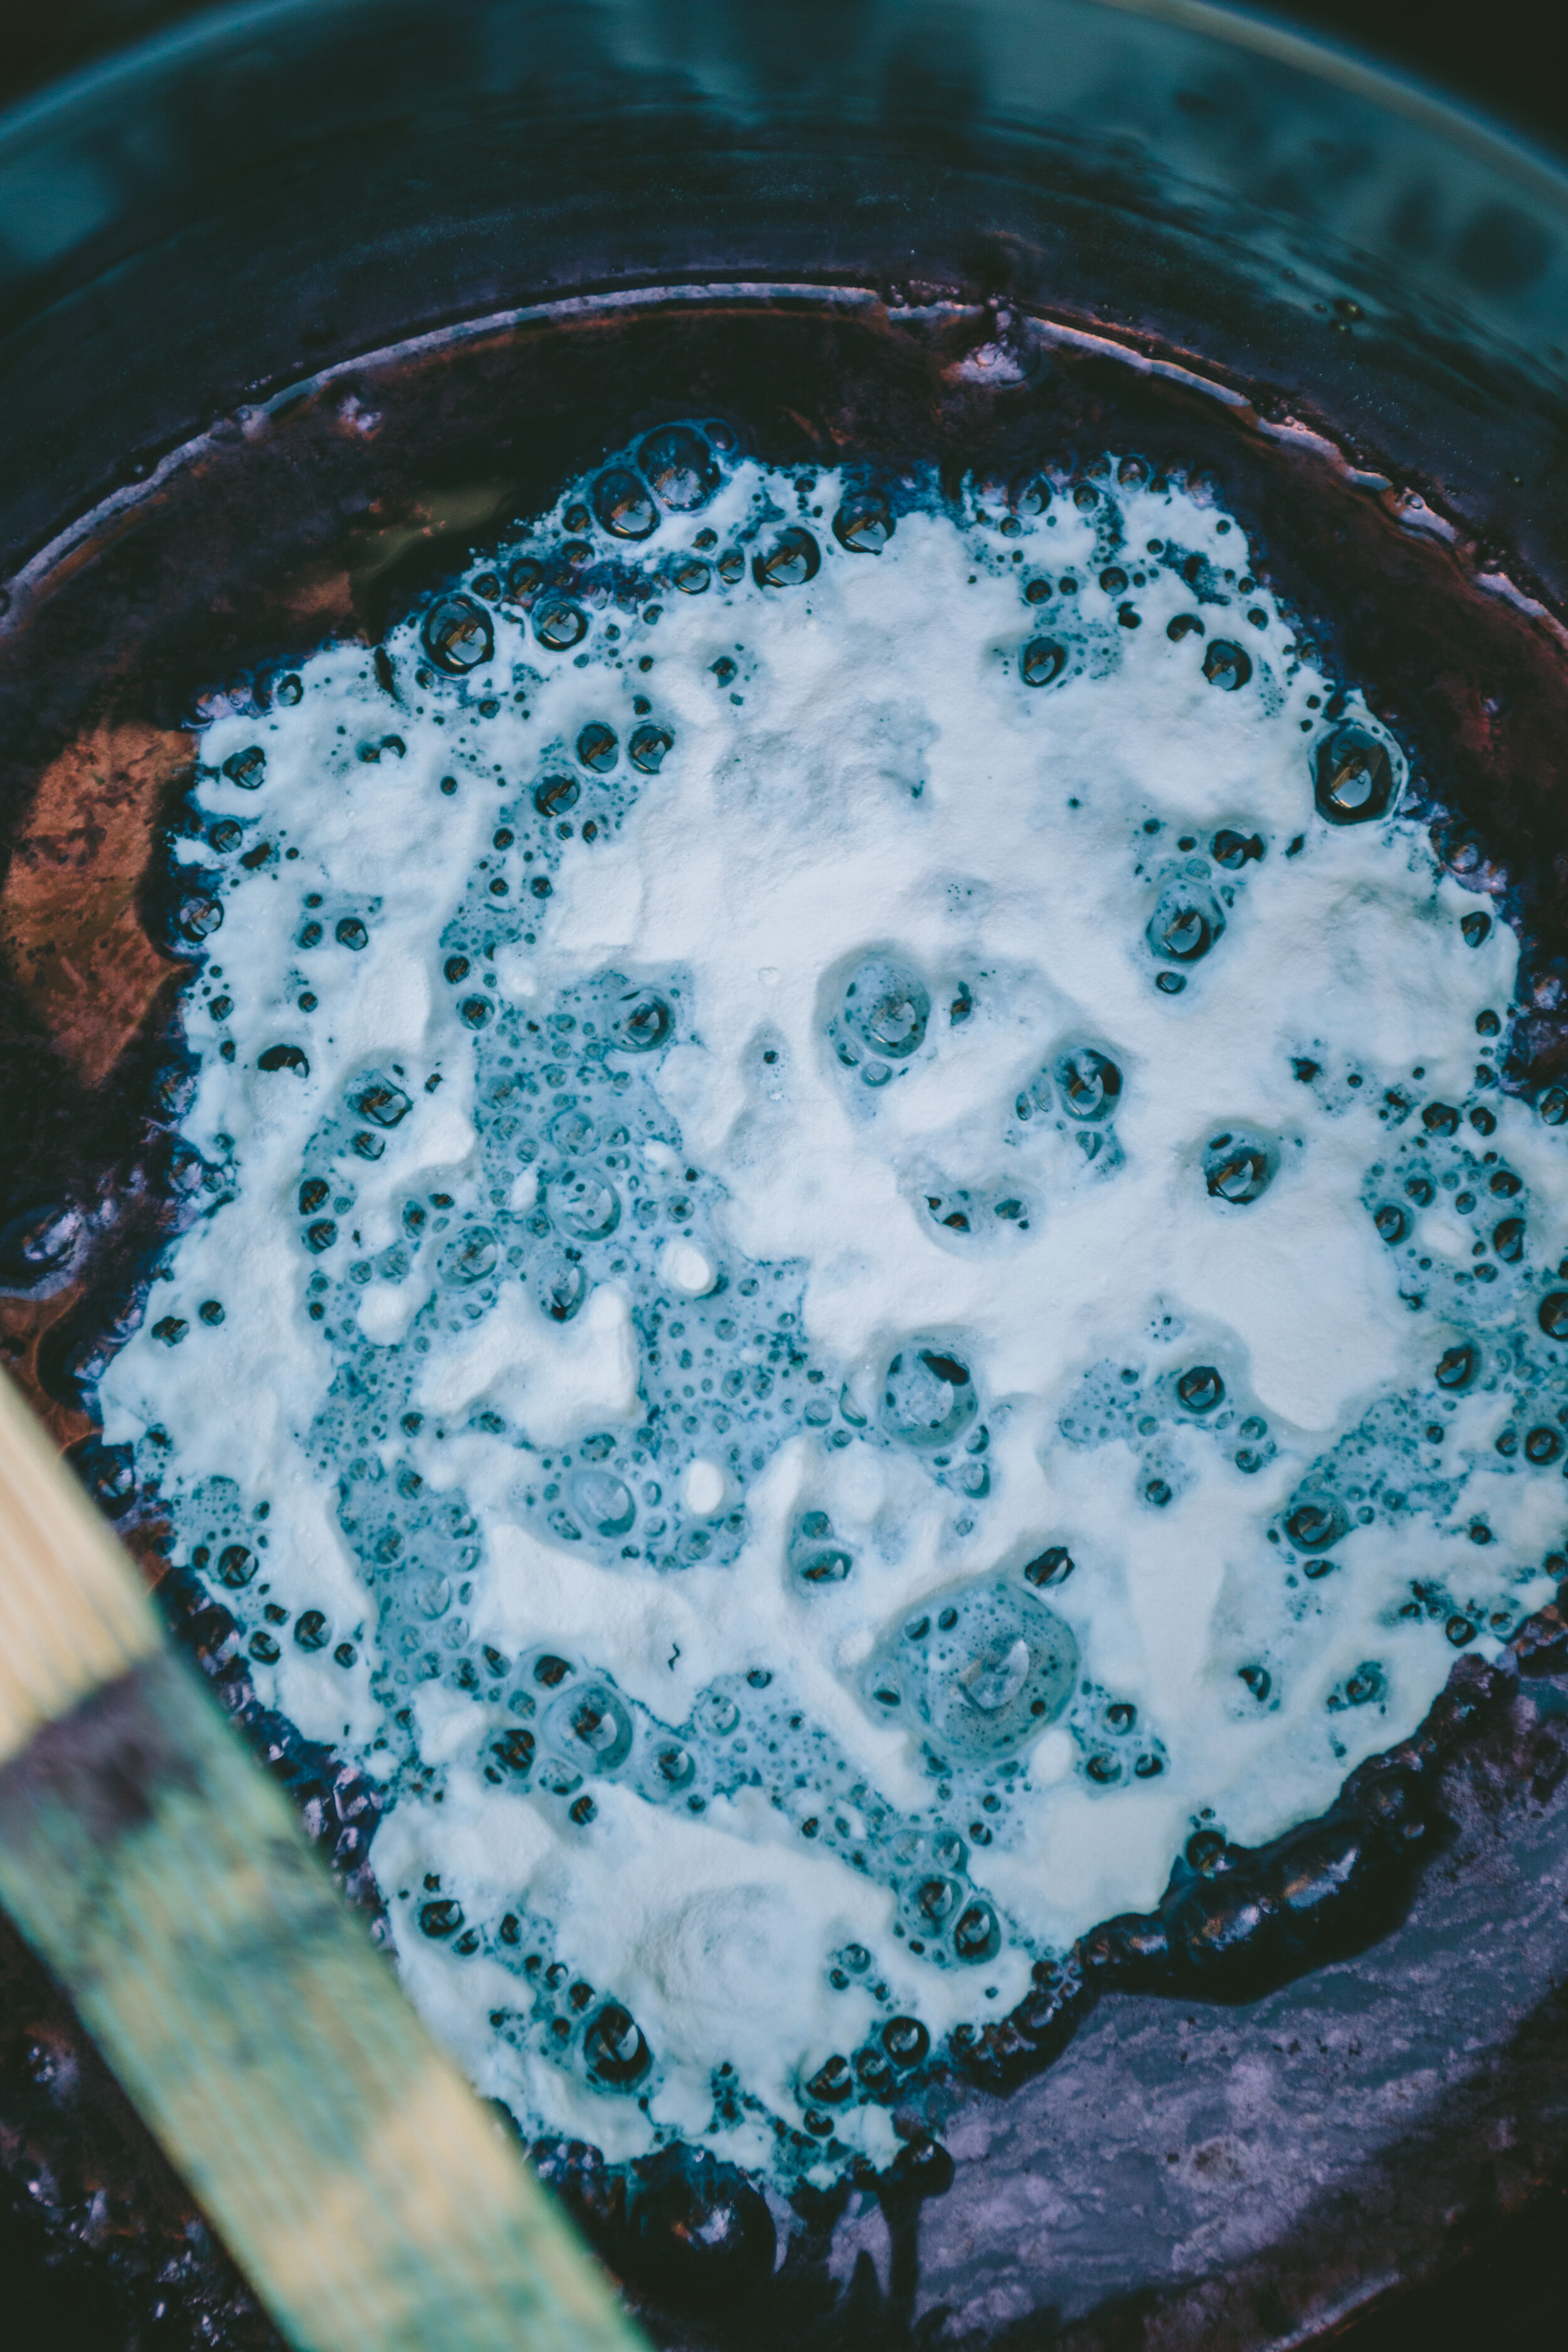
Gently, but thoroughly stir the vat in a one direction circular motion. Once the vat is well mixed slow down and reverse the direction of the stirring as you drag the stir stick along the outer edge of the vat before slowly removing it. Cover the vat with a lid and allow it to settle for at least 15 minutes to 1/2 hour. For best results, wait one hour.
After the vat has settled, remove the lid. The top of the dye bath may be
covered with thin blue skin (rather than the traditional foamy ‘flower’).
Wearing gloves, gently move it to the side. The dye bath should be a clear
yellow or yellow-green color under the flower. If it’s not, wait another 1/2 hour and check again.
Dyeing:
Fold, tie or bind your material. You can see different ways of folding below or check out this link here with tips.
Thoroughly wet or soak your fabric in water.
When you are ready to begin dyeing remove the cover from the vat. If
there is a layer of thin blue skin on top, then gently move it to the side
while wearing gloves.
Squeeze excess water and air out of your fabric.

5. While still squeezing your fabric, slowly submerge your piece into the dye vat. Once submerged gently manipulate the piece to ensure that the dye will penetrate the unbound parts evenly. You may work the piece in the vat underneath the surface for one to several minutes in this way. Do not drop the fabric in the vat and let it sink to the bot- tom. There will be residue that has settled on the bottom of the vat and you don’t want to stir that up while you are dyeing. The residue can cause spots on your dyed piece.

6. When you are ready to take the fabric out of the vat, squeeze it just below the surface as you slowly remove it from the vat. You want to prevent splashing as this introduces oxygen back into the vat. The fabric will be the same yellow green of the vat. Slowly, the fabric will begin to turn blue as the oxygen in the air contacts it. Place the cover over the container.

7. Set aside the fabric to allow the piece to completely oxidize. You may want to turn the piece and open up any areas that you want to turn blue. Let oxidize for about 20 minutes. The color is much darker when wet.
8. Once the item has oxidized you can either repeat steps 4 - 7 to achieve darker shades of blue or you can rinse excess indigo from the piece, untie, and wash with a mild detergent and warm water.


9. When you’ve finished your dyeing session, use your stir stick to gen- tly stir the vat, as before, in a circular motion. Place lid back onto vat and let settle for at least an hour before using the vat again. The vat will keep for several days and you will be able to dye several times. You can continue to feed your vat and tend to it with more indigo + reducing agent. It can be kept alive forever if you continue to feed and care for it.
10. When you are ready to dispose of the vat, empty contents down the drain. Clean up bucket and utensils with soap.
Some helpful hints:
The general idea in keeping an indigo vat is that you want to keep the vat as oxygen free as possible. That is why not splashing and squeezing excess air from the fabric is important.
Storre the vat in an area where the temperature will remain between 68-85° F / 20-29° C, a comfortable room temperature. Keep out of reach of children and animals. Always store with the lid on the con- tainer.
GRAPHICS + INFO SOURCED FROM JACQUARD PRODUCTS
https://www.jacquardproducts.com
Resources
Miller, Dorothy. Indigo From Seed to Dye. Santa Cruz, CA: Indigo Press, 1984.
Sandberg, GÖsta. Indigo Textiles: Technique and History. Asheville, NC: Lark Books, 1989.
Pettit, Florence H. America’s Indigo Blues. Resist-printed and Dyed Textiles of the Eighteenth Century. New York, NY: Hastings House, 1974.
Wada, Yoshiko. Shibori. The Inventive Art of Japanese Shaped Resist Dye- ing. Japan: Kodansha International, 1983.
http://www.unf.edu/floridahistoryonline http://bell.lib.umn.edu/Products/Indigo.html http://www.plantcultures.org/plants/indigo_history.html